
Crysis: Mission 2, Relic - part 3, walkthrough Crysis Guide
Last update: 07 June 2022
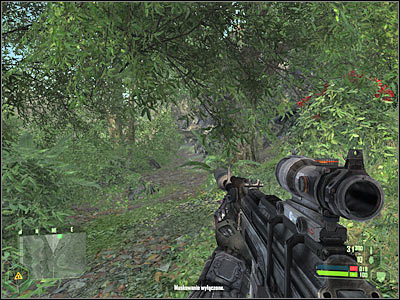
Eventually you'll come across a very large field. The base can be found to your left. Obviously you shouldn't even think about proceeding with a frontal assault. Instead, turn left and find a second path (screen). You won't encounter any hostiles there and you will be allowed to get closer to an enemy camp without being attacked by the helicopter.
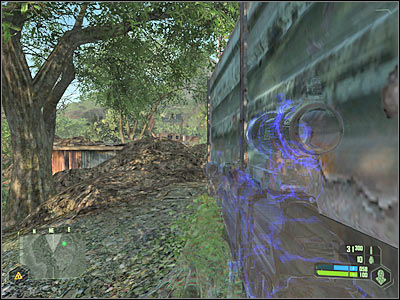
Reaching the base should only take you a few seconds. Look at the screen - that's where you'll have to make a stop. You'll be perfectly safe here, mostly because enemy soldiers won't be able to surprise you. Choose a rifle from your inventory and take out one of the enemy snipers. He should be standing inside the guard tower which can be found in front of your current position. The second sniper is to your right, but you'll deal with him later on.
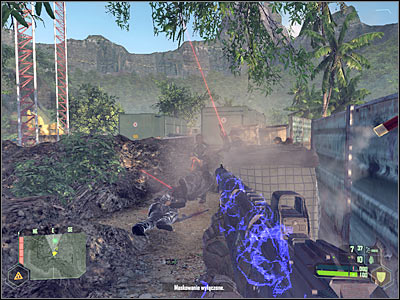
Now you will have to lean out several times. Try and take out enemy soldiers from here. Be careful, though. Some of them may advance towards your position (screen). Use a shotgun to kill them and hide behind the wall each time you've managed to kill a few of them. You will only have to watch out for enemy grenades. I'm sure that you won't have any problems killing at least 6-10 Korean soldiers.
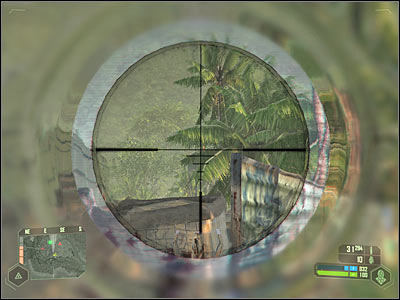
Now you should consider taking out the second sniper. He's well hidden, so you probably won't notice him at first glance. Look at the screen if you're having some difficulties finding him. He will be standing inside the guard tower, to your right. Once he's gone, deal with the remaining enemy units. You won't have to save up on ammunition, because there are a lot of supplies in the camp.
Make sure to check bodies of fallen enemy units. As you've probably noticed before, some of them were using guns equipped with laser sights. Pick up one of these weapons and immediately drop it. Attach laser sights to your main guns. Start moving towards the camp. You should consider using camouflage, because the area may not be safe.
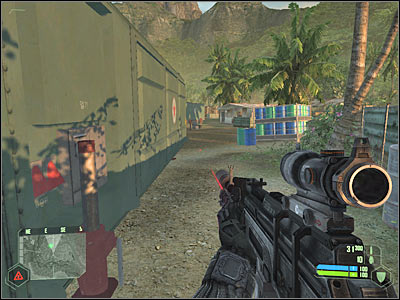
You will probably encounter only a few additional enemy units. Soldiers are probably hiding inside trailers. Kill them and proceed to your target. It's going to be a small barrack. Enter this structure and approach the computer. Press the action key in order to upload necessary data. Wait for the game to grant you with a new task.
