Crysis: Mission 2, Recovery - part 2, walkthrough Crysis Guide
Last update: 07 June 2022
Approaching the village area
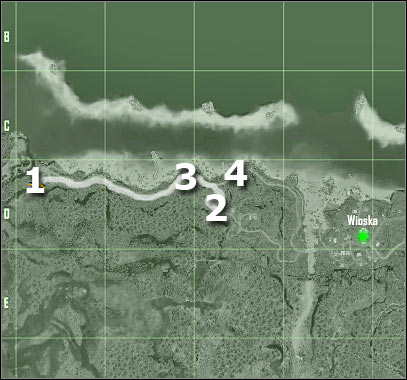
Map legend:
1 - starting area
2 - area where you'll receive a new mission goal
3 - largest group of enemy units
4 - enemy blockade (you must avoid it)
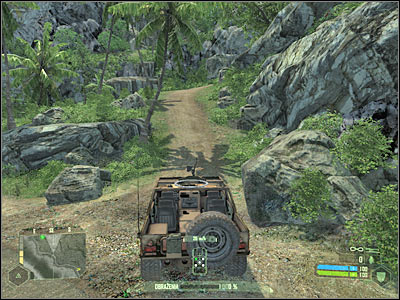
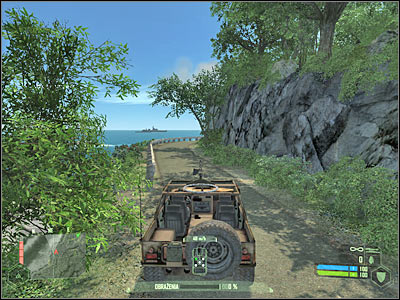
I guess you won't be surprised by the fact that you won't enter the village right away, because you'll receive a new task in a few minutes from now. Start off by leaving this small campsite. There aren't any enemies nearby, so you won't have to search for cover. Head on to the main road. You should be able to find a humvee here. Use it and head on forward.
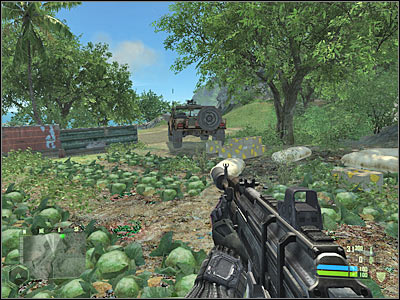
You will have to stop your vehicle after about 100 meters. Man the machine gun (make sure you're in FPP view). You will probably notice that an enemy humvee is heading your way. Wait for the enemy soldiers to exit this vehicle and start shooting at them. You will have to kill them all. Now you've got two choices. You can try to use the humvee again or you could move towards the village on foot. I would recommend that you stay in the car.
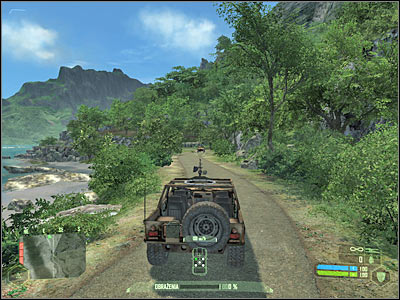
Keep heading forward. You shouldn't make any unnecessary stops here, because the surrounding area is being guarded by an enemy sniper. As a result, you would become an easy target. Exit the vehicle once you've come across a tight bend (screen). Head on to your right and hide near the hill. Activate your cloaking device here.
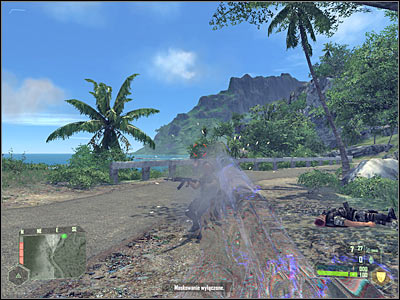
You shouldn't leave this area just yet. Instead, wait for enemy soldiers to come to you. They were probably alarmed by your actions, so it shouldn't take long for them to get here. Use the shotgun to kill them, but make sure that no one else sees where you're standing. You will have to deal with a second group using the exact same element of surprise.

Be careful. One of the enemy soldiers may try to surprise you. A third group will arrive from the east. Make sure that everyone's dead before moving on. I'd strongly recommend that you search bodies of fallen enemy units. Look for a dead sniper and take his rifle. Once this is done, throw it back and take your previous weapon. The sole purpose of this action was to collect a more professional sniper scope. Attach it to your FY71 rifle.
Now you may go back to your humvee. Head on to the east. Once you've reached a junction, leave the asphalt road, because you would come across a massive blockade (4 on the map). Instead, turn right and head on towards a nearby hill. You will probably exterminate several soldiers along the way. Stop the vehicle once you've received a new task from Prophet.