Case 3 - Crime Scene - part 1 | Case 3 - Shock Rock CSI: Hard Evidence Guide
Last update: 11 May 2016
Hot Rod Casino - Auditorium: Crime Scene
You will have a few seconds to look around. I wouldn't recommend proceeding to the crime scene right away. Instead, talk to your first suspect. His name is Todd Hinkley and he's standing next to Warrick. You will have to ask him a few questions:
- Sir, can you tell us who you are and what you saw here?
- So you were here when this happened?
- Tell us about the show. What was this rehearsal for?
- Was the woman onstage one of the contestants?
- What there a fierce rivalry between the two?
- What's your relationship to the victims?
Ignore the information about a new location, because for obvious reasons this crime scene is considered to be your top priority at the moment.

Once the conversation is over, head on to the stage. Click on the bodies of dead musicians. You will have to take a picture of the crime scene, so choose Digital SLR Camera from your inventory.
New evidence: Photo of Crime Scene
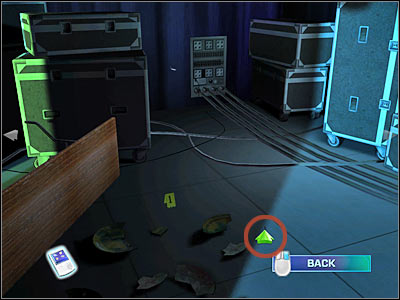
I'd recommend that you start inspecting the crime scene from your left. Click near the microphone stand. Next, zoom in on cowboy shoes and a rock guitar (screen). You will be rewarded for thoroughness.

Check the screen, because that's where you'll have to click. It's a darker section of the stage. Wait for the game to zoom in on that location. Warrick suggests that you catch the bug. Do as he says and pick up your first insect for this particular case. You may go back to the previous view. Now you will have to click on a area that's located to the right of the cowboy shoes.

You will end up near a much darker corridor. Sadly, you will have to find a few important objects here, so you can't leave this area right away. Let's start with the bottle. Check the screen if you want to know where to look for it. You will have to use the High-Powered Flashlight before you'll be allowed to pick up the bottle. Use the Latex Gloves to take it.
New evidence: Tequila Bottle

There are THREE different sets of fingerprints on the bottle and you will have to find them all. Let's start with the label. I'm sure that you won't have any problems finding this fingerprint, especially since you'll be allowed to rotate the view. Use Ninhydrin.
New evidence: Print from Bottle Label
The second fingerprint is located directly on the bottle. Check the screen for additional bearings. In this case you will have to start with Fingerprint Brush and Powder. Once the fingerprint is more visible, use Adhesive Lifting Tape to collect a sample.
New evidence: Print from Bottle Neck

The third fingerprint can be found on the bottle cap. This means you will have to rotate the camera in order to find it. As for collecting it as evidence, you will have to start with a different tool than before. It's going to be Magnetic Brush and Powder. Your second step is more obvious, because you have to choose Adhesive Lifting Tape from your equipment bar.
New evidence: Print from Bottle Cap
You may return to the main view, but don't leave this area just yet. There are other objects here you will have to find.

There's a second item nearby. I'd strongly recommend taking a closer look at the screen, mostly because it's going to be a very small object. Once again, you must begin with a High-Powered Flashlight. Once you've located this item, use Latex Gloves to pick it up.
New evidence: Makeshift Straw
Just as before, you shouldn't close this window right away. You will have to find some blood. Use Leuko Crystal Violet on it and follow it with IntegriSwab. This will allow you to acquire a new evidence item.
New evidence: Blood from Straw