Mission 3 "An Ace Reborn" - part 2 | Campaign "Tiger Ace" CoH: ToV Guide
Last update: 11 May 2016
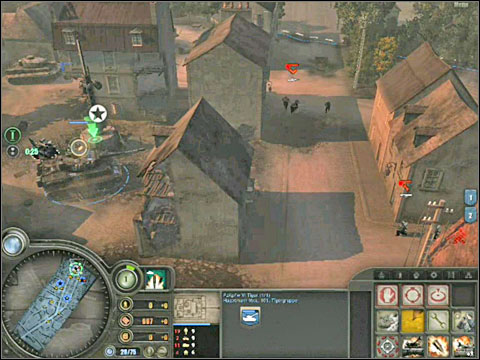
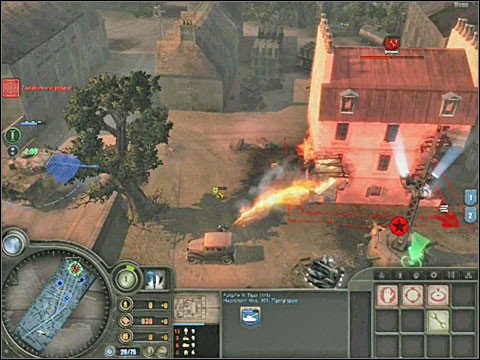
Use the fragmentation ammo to get rid of the British infantry hidden in the buildings. If your main tank gets damaged during the fight, place a smoke screen, retreat a little and repair it. The second vehicle should aid your yellow allies in taking over the strategic points.
The British have came up with an idea of blocking the streets with some more 17-pounds anti-tank cannons, placing them in between the buildings. You can't flank them, and approaching head-on can end up really badly for your tanks. Once again make use of your artillery, remembering that for it to work, the cannon have to be in sight of one of your tanks. I'd suggest you try to approach the cannons with Voss's Tiger and the hatch opened, which will increase the range of vision. While the artillery is shooting at the cannon, you can also attack with your tanks without having to worry about getting damaged too much.
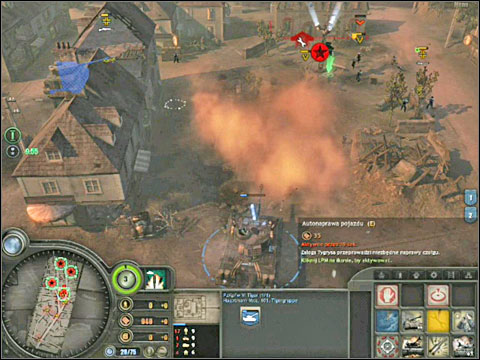
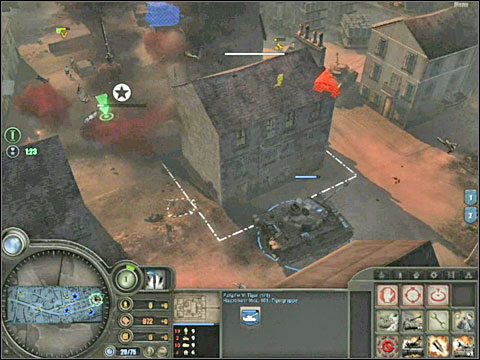
At certain places on the map you will find Priests - enemy artillery, usually supported by Firefly tanks. Try to fight one enemy at a time, although the Priests can be destroyed fairly quickly with anti-tank ammo. Kill the snipers inside the buildings with fragmentation ammo, as always. It seems that the building can also be destroyed by driving into them after you upgrade the tank's ramming ability - to be honest I haven't checked that.

Eventually you will get to the last strategic point, located in the north side of the village. Help the allied infantry with your tanks.
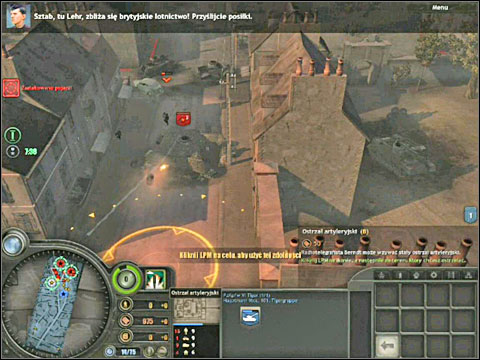
After you get rid of the enemies from the area, your yellow allies will begin to neutralise the strategic point and afterwards to take it over (a gray bar showing the progress will appear). Unfortunately, they probably won't be able to finish because the British will start a counterattack, beginning with shelling the whole area, using some artillery localized beyond the map (right before the bombardment will begin, red flares will appear in the places where the shells will fall). The infantry will probably be wiped out and British forces will appear on the north side of the map - vehicles (an armoured transporter and a tank) and additionally some infantry. Quickly get rid of them using both your Tigers.
Afterwards hurry and get your Tigers to the sides, as some more enemies will appear from the west and east: on the west there will be a single Sherman Firefly tank (leave it for your second, worse tank) and from the east a tank with a flamethrower - Churchill Crocodile and some sappers with a grenade launcher. Use Voss's Tiger to get rid of them. Note that it can fire grenades (an adequate command on the panel) when the British infantry will come too close. As for the second Tiger, remember that after opening fire, you can start to repair at the same time, increasing the chances of winning.

After getting rid of the enemies, get back to the strategic point, killing the remaining British soldiers on your way. Now you have to hope that one of the yellows will arrive soon enough and take over the point before the time required to get the medal runs out.