Chapter VIII: Level 2 Walkthrough | Chapter VIII Call of Juarez Guide
Last update: 11 May 2016
Complete walkthrough:
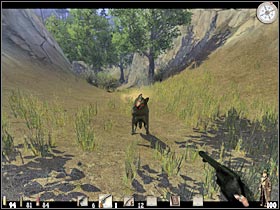
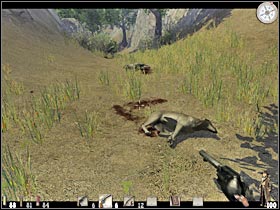
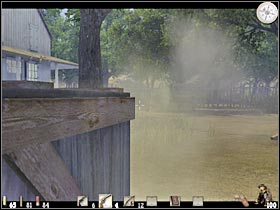
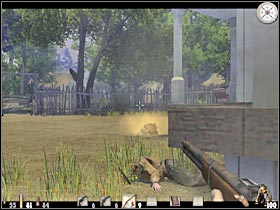
Start off by moving towards the ranch. I would recommend that you ready your guns here. You are going to be attacked by a small bunch of wolves (#10. You will have to deal with the animals without losing any health. If you're lucky, a shot to the head should be enough (#2). Thankfully, you won't have to worry about the ammunition too much.
 |  |
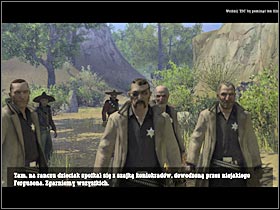
Try getting closer to the ranch. An interesting cut-scene should appear on your screen (#1). Ray will come across a large group of men. It turns out that they are also looking for Ray. As a result, you will help them to attack the ranch. Start running forward (#2). Make sure that you have your reloaded your current weapon.
 |  |
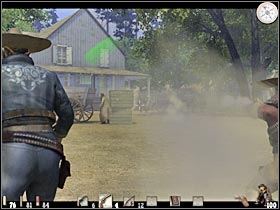
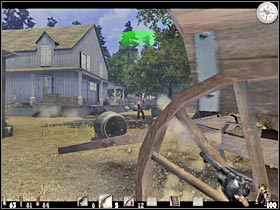
These fights are going to be very simple, mostly because you will receive a lot of help from your new allies. I would recommend that you start off by the main gate (#1). Once you've taken out several people, head on to a small building that's located on your left. You should be able to kill several other enemies from here (#2). There are also a lot of crates and other large objects in this area, so you would be able to use them for cover.
 |  |
You should also try getting closer to a large wagon (#1). Make sure that you don't stay in the open. I'm sure that you wouldn't want to lose any health here. A new group of enemies will appear near the front entrance (#2), however you won't have to kill them on your own. Your allies will suggest that you try to get inside the main building.
 |  |
Once again, you will have to go to the back entrance (#1). There aren't any new enemies in this area, however your next objective is going to be well defended. Make sure that you have taken out all hostiles (#2). You should be using a rifle during these fights. Thanks to it, you won't have any problems killing your opponents. Make sure that you use pillars and walls for much needed cover.
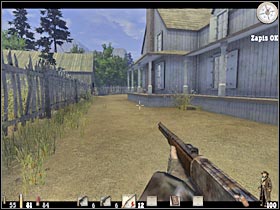 |  |
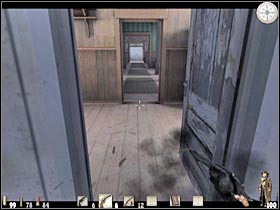
Now you will have to get closer to the back door. Sadly, you won't be able to open it. As a result, press a correct key in order to use your boot (#1). Enter the building and head on to the second room. You won't have to talk to any of the civilians. Instead, proceed to the upper floor (#2). You shouldn't have any problems locating the staircase. I would recommend that you save your game here.
 | 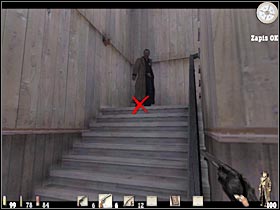 |
You will have to go to Molly's room. I guess you'll probably remember where it is (#1). Enter the room and get closer to the left window. A short cut-scene should appear on your screen. Ray notices that Billy's trying to escape. He's running towards the stables. You will have to try and catch him. Head on to the roof (#2). Don't worry, you won't lose any health while jumping down to the ground.
 | 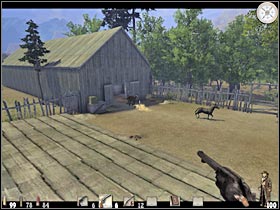 |
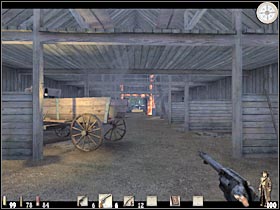
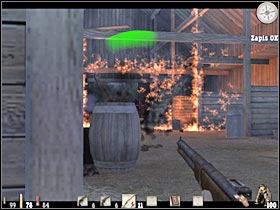
You will have to enter the stables (#1). As you've probably noticed, it's on fire. Ray will come across several new opponents. Once you've regained full control over his actions, make sure that you find a cover. You will have to be quick about it. Use the rifle to get rid of your opponents (#2). It shouldn't be too hard. You may proceed to the exit.
 |  |
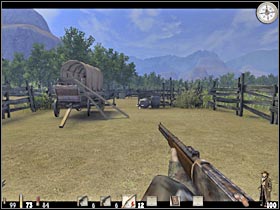
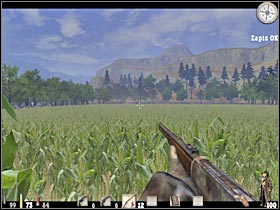
Keep going straight (#1). There's only one road leading to your destination, so you really can't get lost. You should be able to spot Billy in a few seconds. Once the cut-scene has ended, head on to a nearby field (#2). Thankfully, you won't have to do use your gun here. This doesn't mean, however, that you shouldn't save your game.
 | 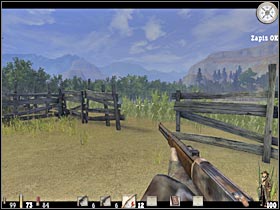 |
The easiest way to reach the next area of the map would be to move in a straight line (#1). You should be able to notice a small road at the other end of the field. That's where you'll need to go. Billy will try to say something during this chase sequence. Once you're close enough (#2), you'll probably notice that he used the horse to escape. Save the game!!
 |  |
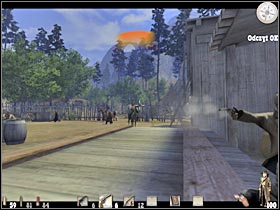
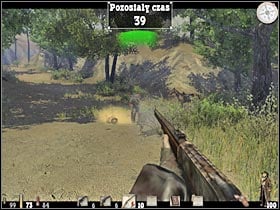
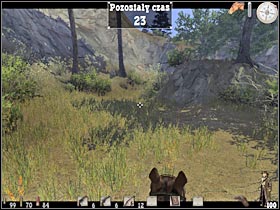
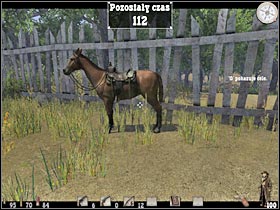
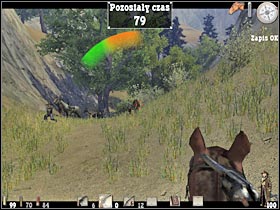
For the first time during this mission you will be given a time limit. As a result, you will have to hurry. Start off by killing two bandits (#1). They should be standing in front of you. Choose the rifle, because you don't have much the time. Use the horse and start moving forward. You should save your game once again. Be careful. The road can be quite narrow here (#2).
 | 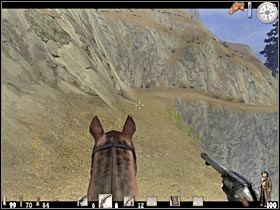 |
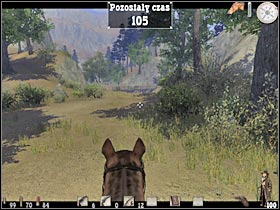
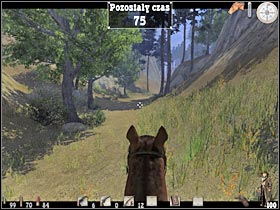
Once you've reached a small junction, choose a path that's located on your left (#1). You will also come across several shortcuts along the way. You could use them to your advantage, however that would be risky. Thankfully, you were given a lot of time. You should be able to reach your destination very soon (#2). That's where Billy is hiding. Leave the horse and save your game.
 | 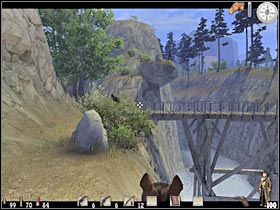 |
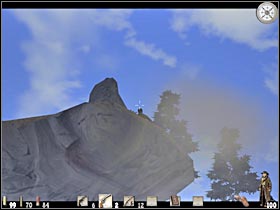
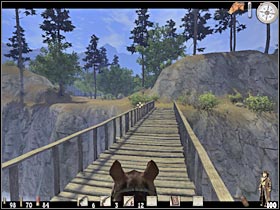
Billy will be hiding on an upper ledge that's located by the bridge. As a result, you probably won't even notice him at first glance. You should try and aim at his head (#1). Thankfully, this won't kill him, but we'll get back to that problem in the next chapter. Now you will have to return to the ranch. It seems that something strange is going on there. You will have to use the bridge to get there (#2).
 |  |
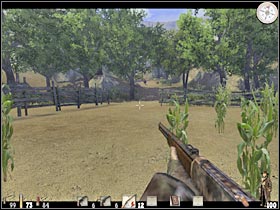
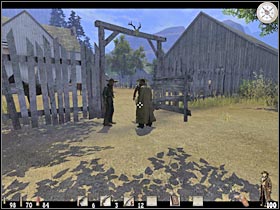
Once you're there (#1), leave the horse and head on to the main building (Molly's house). You will have to get to a large room that's located near the back entrance. You will encounter two bandits here (#2). It turns out that they were only looking for Billy and it was the only reason to kill everyone else. As a result, you will have to fight them in a duel. Bear in mind, though, that it's going to be a much more difficult task.
 | 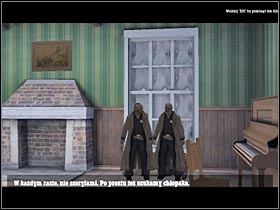 |
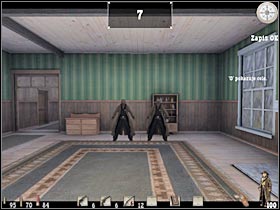
The most important thing for you to know is that you'll have to kill two bandits instead of only one (#1). Thankfully, you will be given plenty of time. I would recommend that you fire three times at each of the bandits (#2). Thanks to that, they won't even fight back.
 | 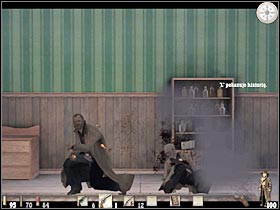 |
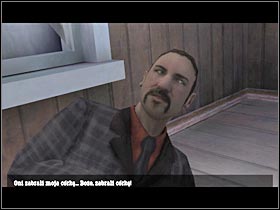
A short cut-scene should appear on your screen (#1). You will be given a new task. Ray will make a promise that he's going to try and save Molly from the bandits. Sadly, you won't be able to do anything here. As a result, you will have to leave the building. Bear in mind that you will have only two minutes to reach your final objective. Start off by choosing one of the nearby horses (#2).
 |  |
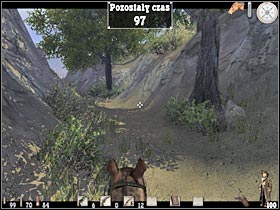
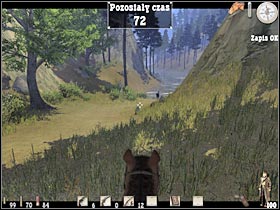
Don't even think about taking out any of the bandits, as you will have to concentrate only on reaching your objective. First of all, you will have to return to the bridge area (#1). That's where you defeated Billy. There's a small road that leads to your new target (#2). I would recommend that you save your progress here.
 |  |
Don't worry that this road doesn't lead directly to your objective. You will come across several bandits along the way (#1). I'd strongly recommend that you ignore them and keep moving forward (#2). You could lose some health here, however this is the final part of this chapter, so you won't have to worry about that. Just make sure that you stay on the track.
 |  |
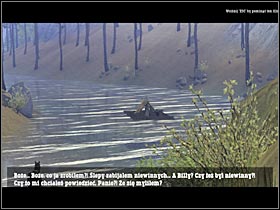
You should be able to reach a small pier very soon (#1). Sadly, the bandits are already gone. You will be able to see this (#2). This is the end of this chapter.
 |  |