Chapter V: Level 3 Walkthrough | Chapter V Call of Juarez Guide
Last update: 11 May 2016
Complete walkthrough:
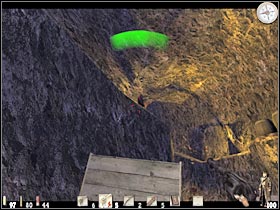
This is a very short mission, however it can be quite challenging. Make sure you're not moving too fast, so you won't miss anything important. Start off by moving forward (#1). You won't encounter any bandits here, so you could speed up a little. A lightning will destroy one of the trees. You should remember this from one of the previous missions. As a result, you won't be able to use the main entrance (#2).
 |  |
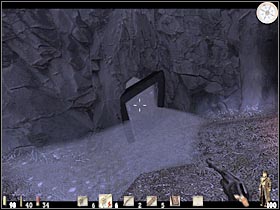
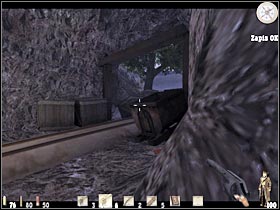
You will have to turn left. There's a flooded tunnel here. You will have to go there now (#1), as this corridor will lead you to the next mine. Keep moving forward. Once you've left the water, start crouching. One of the bandits is guarding the entrance. He's carrying a torch (#2), so you shouldn't have any problems finding him. Organize a surprise attack.
 | 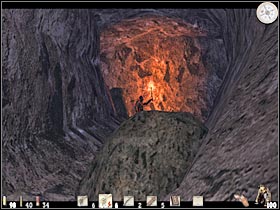 |
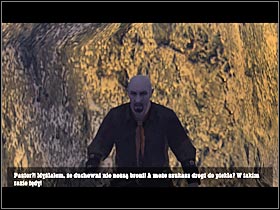
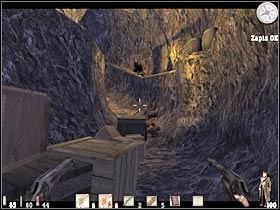
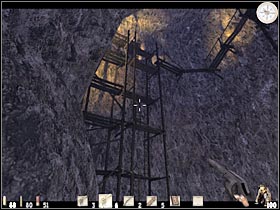
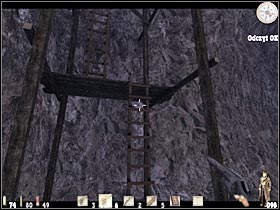
Once you've reached a much larger junction, turn left. Start moving forward. A short cut-scene should appear on your screen (#1). You will meet one of your main opponents. Sadly, you won't be able to kill him just yet. Instead, head on to the wooden construction (#2). It appears that it was a trap. As a result, you will end up on a lower level. Thankfully, Ray shouldn't lose any health. Wait for him to stand up. I'd strongly recommend that you save your game here. There are a lot of challenging battles ahead of you.
 |  |
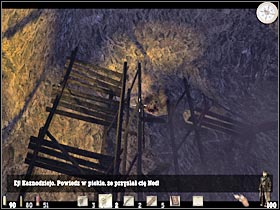
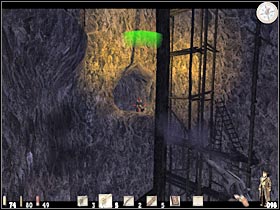
As you've probably suspected, most of the bandits will appear on the surrounding ledges. There are only a few cover points here, so you will have to eliminate them as soon as they start shooting you. One of the first groups will appear above you (#1). Make sure that you kill them right away. You could be using a shotgun, however I'd personally recommend having both revolvers. You should also zoom in the view. A second group will be standing on the other end of this tunnel (#2).
 |  |
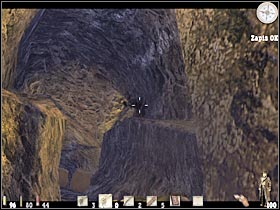
Start moving towards the new part of the tunnel. You will have to be careful. Additionally, make sure that you're using crates and walls for cover. There are some new enemies on your right (#1). You could try aiming at their heads, however this won't be necessary. Keep going straight. Make sure that you have picked up health bottles and ammunition along the way. Use the crates and barrels for cover (#2), as there are more bandits in this area. You could also throw a dynamite at them.
 | 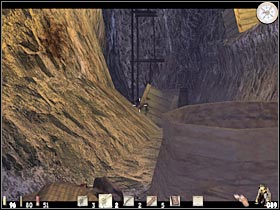 |
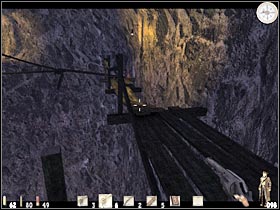
You should be able to get closer to a large, wooden construction (#1). I would recommend that you turn left and make a few steps forward. You should hear one of the bandits. Move back to a safe distance. You will have to prepare yourself for this battle. Your enemy is equipped with a very powerful rifle. As a result, make sure that you take him down with a single shot (#2). I guess I don't have to remind you that you'll have to aim at his head.
 |  |
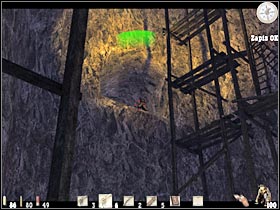
There's also a second bandit in this area. He should be standing on a small ledge that's located on your left (#1). You should also that even more enemies will appear there later during this mission. You will also have to turn around. One of the bandits is standing on an upper platform (#2). Kill him quickly.
 |  |
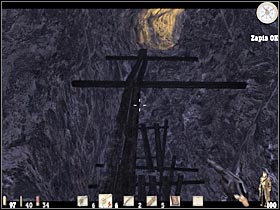
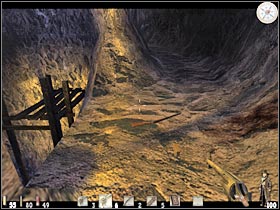
Sadly, you won't be able to use the larger construction, because it was damaged during the fights. Instead, you will have to turn around and head on to the smaller one (#1). Start using the ladders. Be careful, though. You are going to be attacked in a few seconds (#2). Kill the bandit and use a new ladder.
 |  |
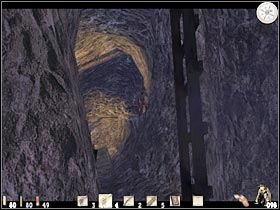
Once again, you will have to deal with a well armed bandit. Make sure that he's dead before you decide to proceed any further. You should be able to reach a new ledge from here (#1). Thanks to that, you will come across a new tunnel (#2). You could proceed to the next section right away, however I'd recommend that you check your surroundings first. You should be able to find a lot of ammunition here.
 |  |
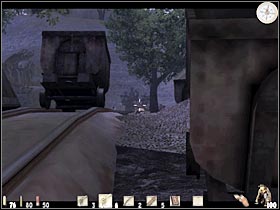
Head on to a new tunnel. You should get closer to the exit very soon (#1). It looks like the bandits are fighting with someone. Do your remember one of the previous missions? You should know that you're getting closer to Billy. Position yourself by one of the wagons and start shooting at the visible enemy units (#2). Additionally, make sure that you have saved your progress.
 |  |
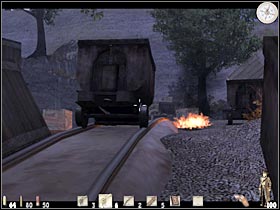
You could also pick up an oil lamp. You would find one of these objects in a nearby tunnels that's located on your left. It would make your job a lot easier (#1). Once you've secured the entrance, make a few steps forward. Some of the enemies will be standing by the building. Make sure that you killed them first (#2). You will have use your shotgun.
 |  |
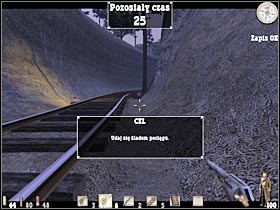
Once you've secured this entire area, an interesting cut-scene should appear on your screen (#1). You probably remember this confrontation from the previous chapter of the campaign mode. Save your game here! The game will suggest that you should start a chase. Head down to the tracks (#2). Thankfully, you'll have plenty of time to do that.
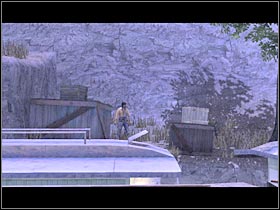 |  |
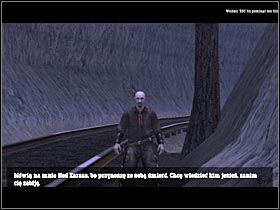
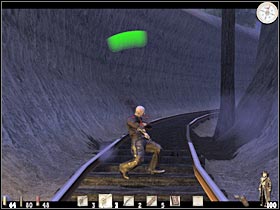
Sadly, this chase sequence is going to interrupted very soon. Ray will encounter of the bandit leaders here (#1). As you've probably suspected, you will have to kill him in a standard duel. You should know exactly what has to be done here. Eliminating your opponent (#2) will also end this chapter of the game. Thankfully, you'll still be playing as Ray.
 |  |