Chapter IV: Level 1 Walkthrough | Chapter IV Call of Juarez Guide
Last update: 11 May 2016
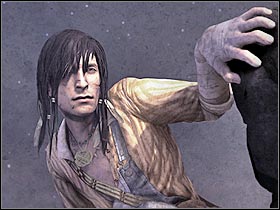
You are: Billy Candle
Main mission objective: You will have to reach a train, so you'll be able to organize an escape. These lands are occupied by bandits. You will have to avoid being seen.
Difficult moments: This is another stealth mission. You will have to stay in the shadows for the most of the time, mostly because revealing your mission would be equal to an instant failure. As a result, you will have to be very careful, especially since you will also have to watch out for several aggravations. Check the entire walkthrough section for details.
 |
Complete walkthrough:
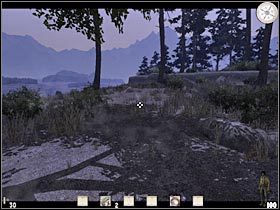
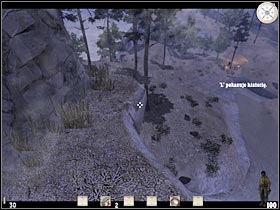
The first mission of this chapter is very short. You shouldn't have any problems finishing it. You start off on a small field (#1). Start moving forward. Sadly, you won't be able to reach any of the upper platforms. Instead, go left. There's a narrow path here (#2). You will have to choose it. Just make sure that you don't fall down. It's very easy to make a mistake here.
 |  |
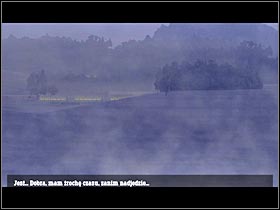
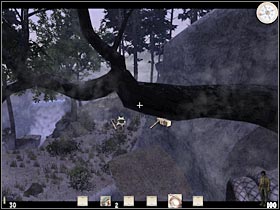
A new cut-scene will appear on your screen (#1). Billy will notice that the train is already heading towards its destination. You will be able to use it to escape. Thankfully, you won't have to be in a lot of hurry. Keep moving forward. You should reach a new area very soon. Turn right and keep going straight. You will have to use the whip in order to reach a new ledge. Make sure you're aiming at a large branch (#2).
 |  |
I guess you probably know what has to be done here. You will have to start swinging in order to be able to reach a new platform (#1). Make sure that you're saving your progress frequently, as it's very easy to make a mistake during one of these jumps. Now you will be able to reach the ground (#2). Billy won't lose any health here, although you should remember to use the S key.
 |  |
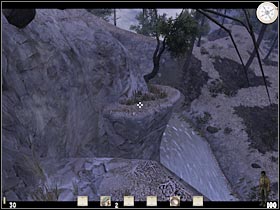
You may proceed to the next section. There's only one road leading to your new destination, so you can't get lost. You will come across a large waterfall in just a few seconds (#1). Make a few steps forward. Be careful, though. One of the trees will fall to the other side. You will have to get close to it. Perform a single jump. You'll be able to reach a new ledge from here (#2).
 | 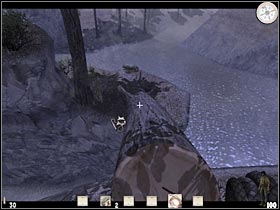 |
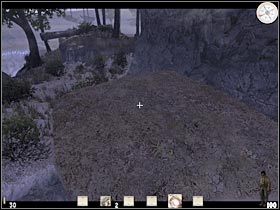
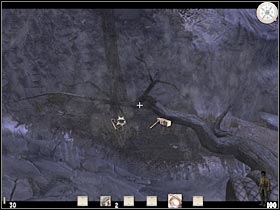
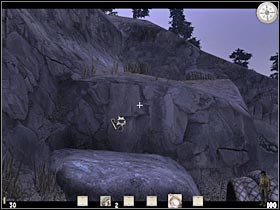
Keep moving forward. You will come across a small group of rocks (#1). Use them to climb up to the upper level. Make sure you don't end up in the water, as it would probably result in a mission failure. Keep going. There are two holes here (#2). You will have to avoid them.
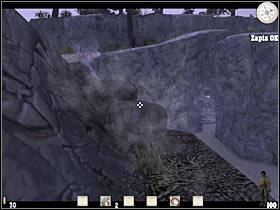 | 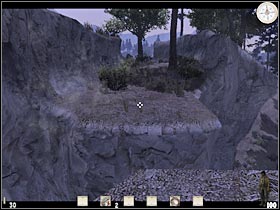 |
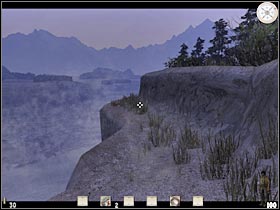
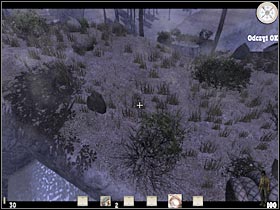
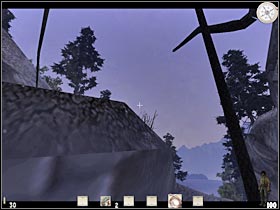
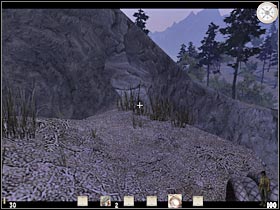
You should be able to reach a large cliff area very soon. A longer cut-scene will be displayed on your screen (#1). Billy decides to go to one of the nearby caverns. Sadly, there are a lot of bandits in this area. You will have to avoid them in order to reach your new destination. Thankfully, you won't encounter any enemies here, however make sure that you've read all hints. Proceed to the lower platforms (#2). I'm sure you won't have any problems reaching them.
 |  |
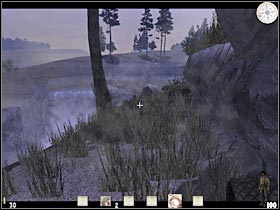
You will come across a much larger chasm. You will have to perform a jump here (#1), however you should start off by saving your game. Thanks to that, you won't have to repeat larger sections of this level. Once you're on the other side, start moving forward. Get your whip ready. You will have to use it here (#2).
 |  |
You will have to be moving upwards, so make sure that you've pressed the left mouse button (#1). Start swinging in order to reach the upper platform. Keep moving forward. There's a lot of climbing to do here (#2). Make sure that you've chosen a smaller rock first. You should be able to reach a new platform from here. Thankfully, this whole area is quite safe, so you probably won't make any mistakes.
 |  |
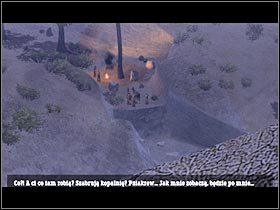
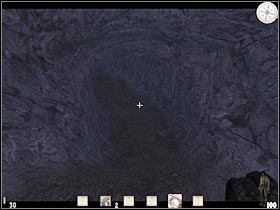
Now you will have to locate a small entrance that leads to one of the nearby caverns (#1). It will be located on your left side. Enter the cavern (#2). There's a short walk ahead of you. Wait for the game to load a new map.
 |  |