Chapter I: Level 2 Walkthrough | Chapter I Call of Juarez Guide
Last update: 11 May 2016
Complete walkthrough:
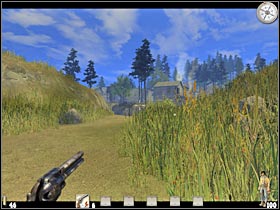
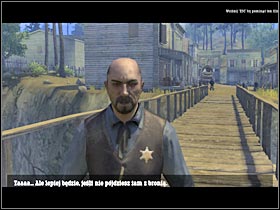
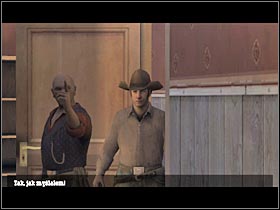
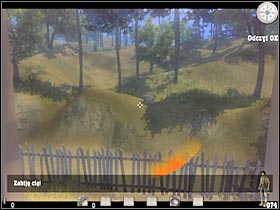
Keep moving forward (#1). You won't encounter any other wolves here, so you don't have to worry about having to use your gun. You should be getting close to your destination. Head on to a large bridge. A new cut-scene will appear on your screen (#2). Billy will have an encounter with a local sheriff. As a result, you will have to drop your gun from the inventory. You can do this by pressing the BACKSPACE key. As you've probably suspected, you will have to obtain a new gun. We'll deal with this problem in a few minutes.
 |  |
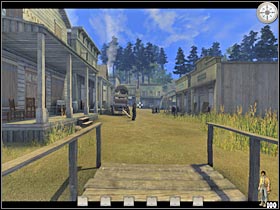
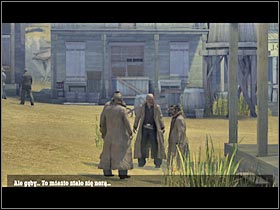
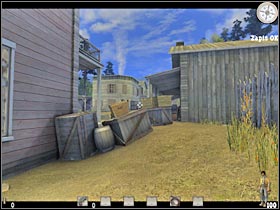
Start moving towards the main part of the town (#1). You can take a closer look at the surrounding buildings if you want to. I will concentrate only on your current objectives. You will meet a few people along the way, including the undertaker. Billy will also notice that there are a lot of bandits in the city (#2). Keep moving towards a large square.
 |  |
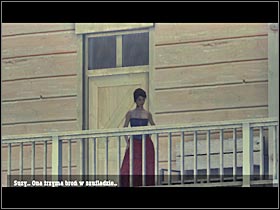
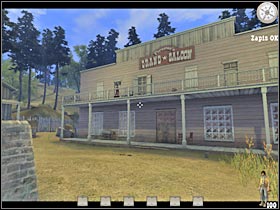
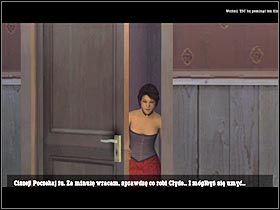
Once you've reached your destination, turn right. A new cut-scene should appear on the screen (#1). Billy decides to visit his old... friend. ;-) Suzy definately has a weapon. You will have to steal it from her. Start off by heading towards the large entrance of the Grand Saloon. Enter the building.
 |  |
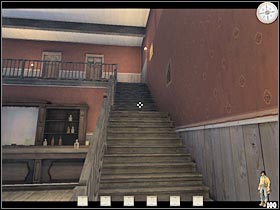
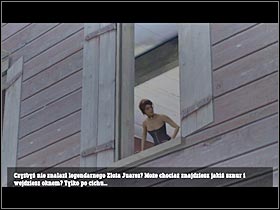
Head on to the opposite end of the saloon. You will have to try and reach Suzy's room from the upper floor (#1). Sadly, Billy is going to be stopped by one of the bandits. As a result, you will have to find some other way in. Exit the saloon and turn right. You will find a small alley here (#2).
 | 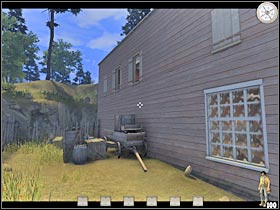 |
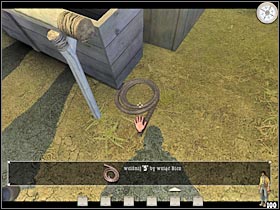
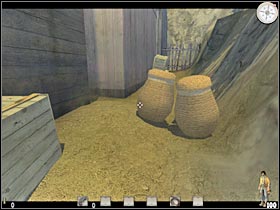
Wait for the new cut-scene to show up (#1). In order to reach Suzy's room, you will have to find some kind of a rope. Turn around and make a few steps forward. They game should make a small suggestion on where you will have to go. Start moving towards the stables area. Leave the horses for now. You will find a whip here (#2). Pick it up and get back to the alley. You might want to consider using this object, however this is not necessary.
 |  |
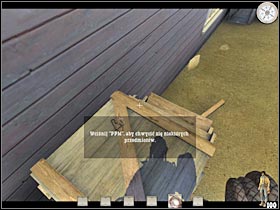
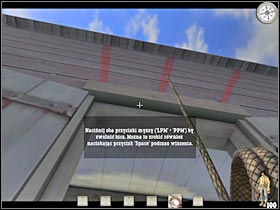
First of all, you will have to climb up to the top of the largest crate (#1). You shouldn't have any problems with that. Now you must use the whip. Choose it from your inventory. Take a look at Suzy's window. You will have to aim at one of the red objects (#2). Press the right mouse button. Make sure that the whip has been properly attached.
 | 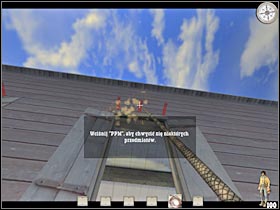 |
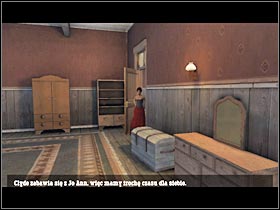
Once again, you will have to press AND HOLD the right mouse button. Thanks to that, you should be moving towards the window. Once you're there, use the SPACE key in order to enter the room without any other problems. A short cut-scene will appear on the screen (#2). Suzy will try and hold off the bandits. As a result, you will have 60 seconds to find her weapon. Don't worry, it's plenty of time.
 |  |
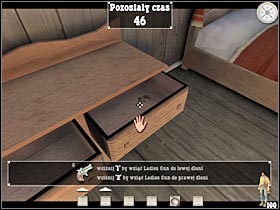
You might want to consider opening all of the nearby crates, cabinets and drawers, however this is not necessary. You will find the gun in the right drawer that's located by the large bed (#1). Pick it up. A very "intimate" cut-scene will pop up on the screen (#2). ;-)
 |  |
Sadly, you won't be able to spend much time with Suzy, as some of the bandits will break in (#1). This is the first difficult moment of this mission. As you've probably noticed, Suzy's gun doesn't have any bullets in it. As a result, you will have to escape from her room. Start running towards the left window (#2). You can also use the CAPS LOCK key, however you should be just fine. Make a single jump. Don't worry, Billy won't lose any health. Save your progress here!
 |  |
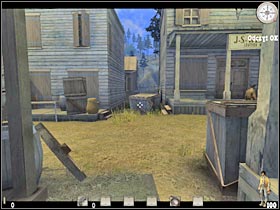
Try getting closer to the main square of the town (#1). A short cut-scene should appear on your screen. You will have to avoid ALL of the nearby bandits from now on, as they will be rewarded if they manage to catch you. This is the most challenging part of this entire chapter. You will be sneaking a lot. As a result, make sure that you're crouching all the time. You shouldn't get too close to the main square, as there are a lot of bandits there. Instead, choose a small passageway that should be located on your right. You won't encounter any hostile units here, so you may as well start moving forward.
 |  |
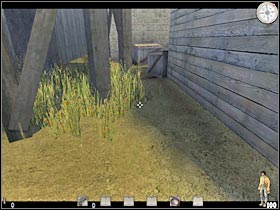
You will come across several interactive objects along the way. Climb up in order to reach the next section. You shouldn't have any problems with these types of actions. Keep moving forward (#1). Once you've reached a small wooden fence, turn left. You should notice that there's a small passageway in front of you (#2). Go there now.
 |  |
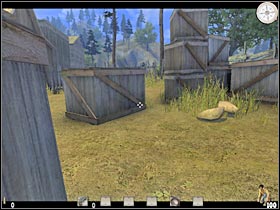
There's a challenging manoeuvre ahead of you, so I'd strongly recommend that you save your current progress. Get closer to the main street. Wait for the bandits to leave this area (they are on your right). After that, start RUNNING towards a second alley that's located in front of you (#1). Once you're there, turn right and hide by the large crate (#2). If you're lucky, no one should see you here. Wait for the bandits to return to their previous posts.
 |  |
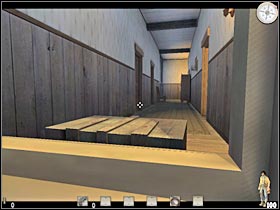
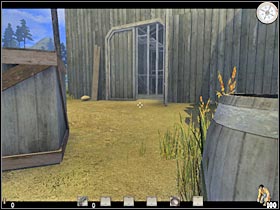
Turn right and start moving forward. Make sure that you're crouching! No one can see or hear your movements. There are some bandits in this area, so you will have to avoid them. You should be able to reach a new building very soon. Use a large window to enter it (#1). Keep moving forward. Just as before, you may decide to take a closer look at the surrounding rooms, however this is optional. You will have to reach a small door, though (#2). It's located on the opposite end of this corridor. Open the door. Make sure you're hiding here.
 |  |
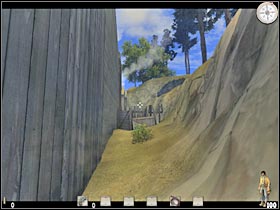
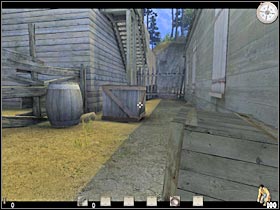
Wait for the bandits to leave this area. I guess I don't have to remind you that you should be peeking a lot. Exit the building and turn right. You should be able to reach a large fence very soon (#1). Hide here and wait for the guards to complete a new round. Now you will have to climb up in order to get past the fence (#2).
 |  |
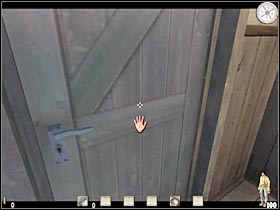
You're getting close to the end of this level. Forget about having to crouch here. Turn left. You should notice a large gate that leads to the shed (#1). Proceed to this location. Once you're there, you will have to wait for a short while. The gate is going to be closed (#2). Don't worry about that because the game will load a new area very shortly.
 | 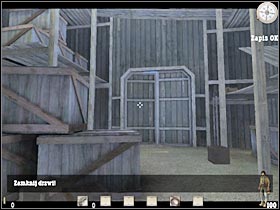 |