Prisoners of War | The Battle for Caen Call of Duty 2 Guide
Last update: 11 May 2016
TIME AND PLACE: June 11, 1944; Beltot
YOU ARE: Sergeant John Davis
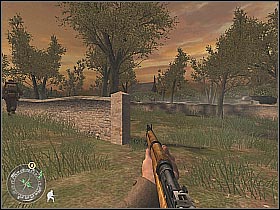
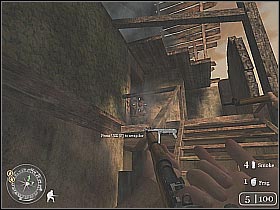
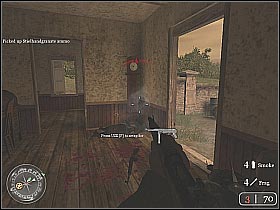
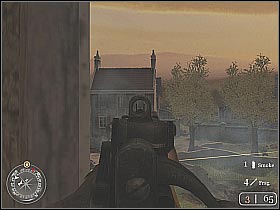
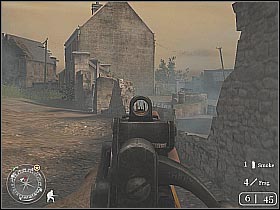
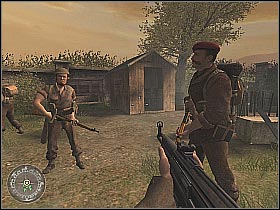
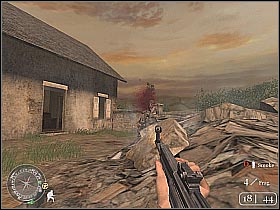
Here's one of the missions located in the infamous Normandy area. You will have to take complete control of the small town of Beltot. First of all, listen to what the squad leader has to say (screen 1). After that, follow him. You should reach a larger field in a couple of seconds (screen 2). Start crouching behind one of the brick walls. You've got to use all possible cover. Don't expose yourself too much.
 |  |
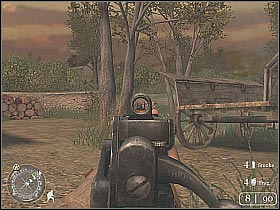
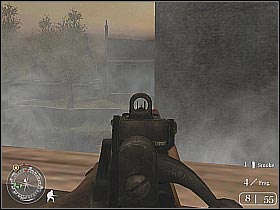
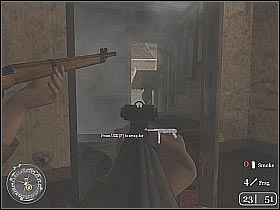
You should encounter some of the Nazi forces in a couple of seconds. It would be best to aim at the heads of the enemy soldiers. Zoom in the view if you need some help with that (screen 1). Some of the Germans may surprise you from the left flank. You've got to be careful. Follow the rest of the team members. You will have to cross a small creek. Choose the path leading between the bushes (screen 2).
 | 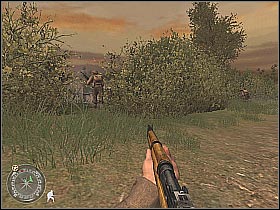 |
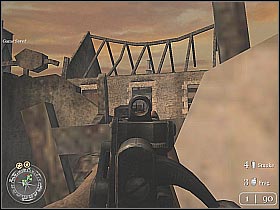
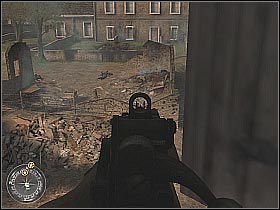
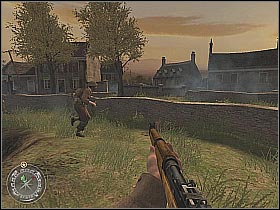
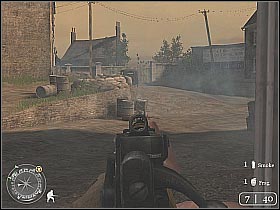
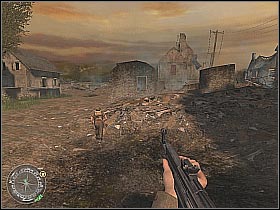
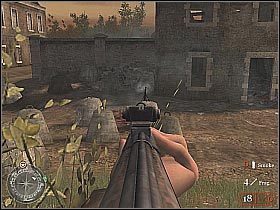
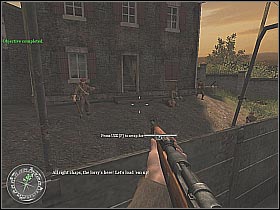
Ignore the enemy forces for the moment. Start running towards the buildings located on your right. Remember to use all possible cover (screen 1). Some of the enemy mortar teams will start bombarding the whole area. You will deal with this problem later. Now head on to the nearest building (screen 2). You might want to let your teammates deal with the enemy soldiers.
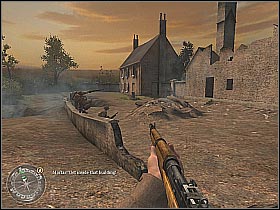 |  |
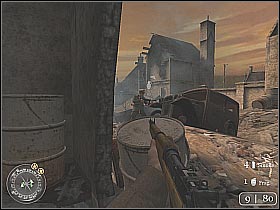
I wouldn't recommend going up to the first floor. That's because you'd probably expose yourself to enemy snipers. Instead, get closer to one of the walls and take care of the MG-42 crew (screen 1). You shouldn't have any problems with locating enemy troops. Continue shooting at the Nazis (screen 2). Remember to use barrels, walls and destroyed cars for extra cover.
 |  |
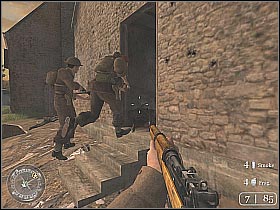
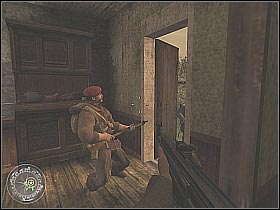
Keep pushing forward. You will be encountering some massive Nazi forces (screen 1). Watch out for the grenades. Remember to avoid them at all costs. It would be best to head on to the nearest buildings. Take out a single soldier. He was guarding the stairs (screen 2). Use them to get to the first floor.
 |  |
Get closer to one of the nearby windows and start shooting at the visible enemy soldiers (screen 1). You should be just fine. Remember to keep a crouching position at all times. You will also be able to take care of the first mortar team (screen 2). After you've taken care of all enemy units use the stairs to leave this building. Rejoin with the rest of the team.
 |  |
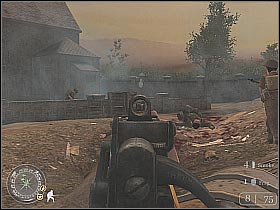
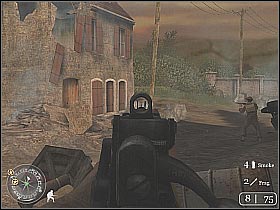
Start moving forward. Remember to use destroyed buildings and other objects for extra cover. Keep heading towards the right path (screen 1). You will encounter some enemy forces in here (screen 2). Just as before, headshots are most welcome.
 | 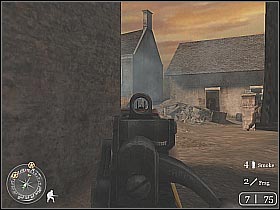 |
You probably noticed a heavy machine gun post on your left (screen 1). Take it out (aim for the heads). Bear in mind that there are more MG-42 posts nearby. Head on to the nearest building. You will encounter some enemy soldiers in here (screen 2). Kill them. Use the stairs to get to the upper floor.
 |  |
Start off by choosing one of the windows. It would be best to keep a crouching position at all times. Eliminate all nearby soldiers. After that, you'll have to take care of the other heavy machine gun posts (screen 1). Be sure to kill all visible Germans (screen 2). Leave the building and rejoin with the rest of the squad.
 |  |
Keep moving forward. It would be best to stay close to the buildings located on your right. You will encounter some brick walls along the way (screen 1). Jump over them. You should finally reach one of the destroyed buildings. Try to locate enemy soldiers that were probably hiding in the ruins (screen 1). I would recommend zooming in to get the better view of the situation.
 |  |
After taking care of the enemy troops head on to the nearest street. Continue moving forward. You should be staying close to the right wall at all times. You will reach an open window in a few seconds (screen 1). There are some enemy troops inside. It would be best to throw a couple of grenades in there. Enter the building and deal with the rest of the Germans. Some new soldiers will appear near your current position (screen 2). Kill them. I would also recommend picking up a machine gun (MP-40).
 |  |
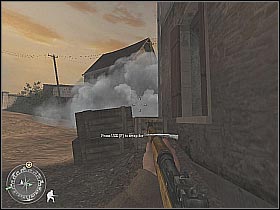
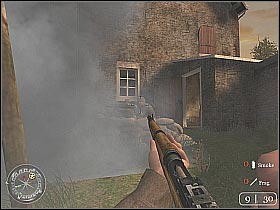
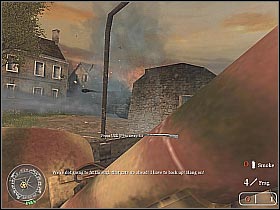
You should notice a new MG-42 post nearby. First of all, use some of your smoke grenades in order to blind it (screen 1). Start running towards its position. Take down the Germans who were standing by the machine gun (screen 2). Reload your weapon before you decide to enter the closest building.
 |  |
You will be encountering some massive enemy forces. I would recommend choosing longer, but controlled bursts. This will help you to eliminate enemy soldiers more efficiently (screen 1). Join the squad leader (he will be shown on your compass). The man is going to bash one of the doors (screen 2). You will find some wounded troops here. DO NOT shoot them! They will be treated as prisoners.
 |  |
Listen to what the squad leader has to say. You will have to team up with MacGregor in order to bring one of the trucks to this position (screen 1). This will help in transportation of the wounded soldiers. Start off by following the allied soldier. You shouldn't encounter any Germans at the moment (screen 2).
 |  |
Once you get closer to one of the explored buildings new enemies will begin to show up (screen 1). It would be best to throw a couple of grenades at them. Deal with those who managed to survive the explosions. A second group is waiting for you near the concrete walls (screen 2). Just as before, the grenades will do just fine. Continue moving forward.
 |  |
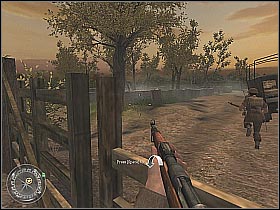
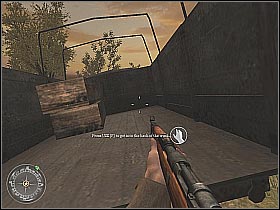
There are no major surprises planned for the next 30-40 seconds. Follow MacGregor to your destination. At some point you will have to jump over the small fence (screen 1). Listen to what MacGregor has to say. He will be able to start the ignition. Head on to the back of the truck (screen 2). You should notice a rocket launcher lying there. Don't pick it up just yet.
 |  |
You will have to defend the truck. Enemy troops are occupying most of the nearby buildings. It would be best to aim at some of the explosive barrels (screen 1). This way you'd be able to dispose of them quite easily. An enemy tank will arrive (screen 2). Pick up the rocket launcher and fire your first shot.
 | 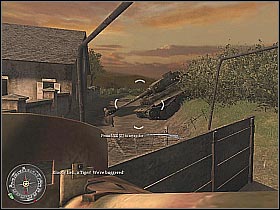 |
One hit is not enough. Reload your weapon quickly and shoot again (screen 1). This time the machine should explode. There's nothing else to worry about. You'll reach your destination in a few seconds (screen 2). Congratulations, you've just completed this mission.
 |  |