
Enigma Conundrum (riddles 10-15) | Side missions Batman: AC Guide
Last update: 11 May 2016
10th riddle
You will be able to approach the 10th riddle only after obtaining at least 160 Riddler's collectibles (collectibles + challenges). A new section will be unlocked in Batman's computer which you can access by pressing BACK. The riddle once again makes use of the Enigma Machine. Use both analog sticks to create the password PENNY and accept with A. The solution can be seen on the screen above.
11th riddle
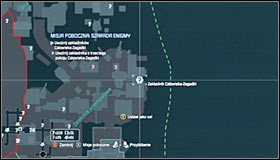 | 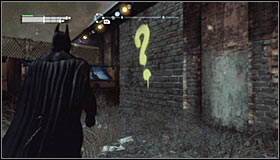 |
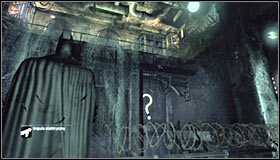
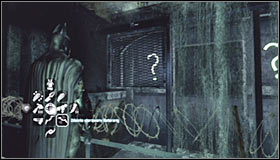
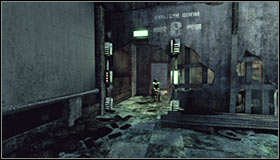
Note that a new point has appeared on the Arkham City map #1. In points the location of the third Riddler room, in which the new hostage is held. Saving him is the 11th riddle. Head to the marked spot in the eastern part of the Industrial District. There, jump onto the lowest level and look for a wall with a green question mark #2.
 | 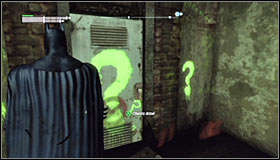 |
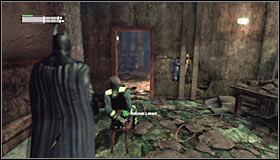
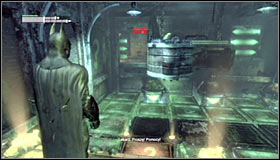
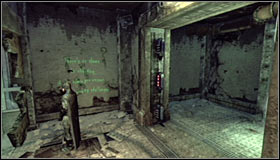
Just like with the previous riddles, you need to approach the question mark #1 and press A to destruct the fragile wall fragment. Afterwards use the door leading inside the building #2 and head to the next room to hear out what Riddler has to say.
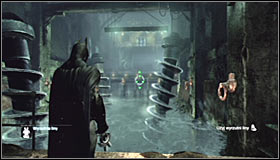 |  |
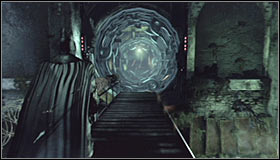
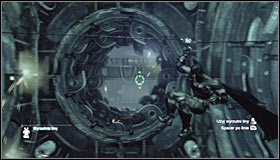
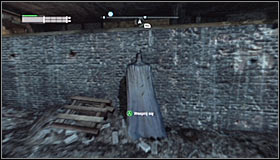
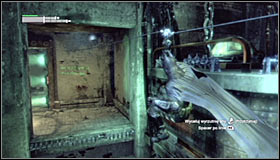
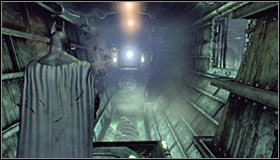
Contrary to what it might seem like, you don't need to use the Freeze Blast here. Instead, equip the Line Launcher, fire at the wall in front of you #1 and wait for Batman to reach the other end #2.
 |  |
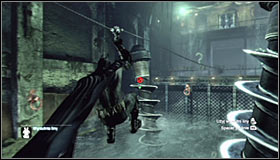
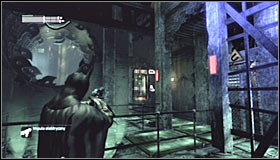
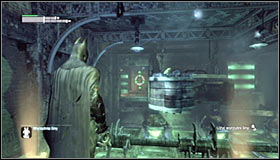
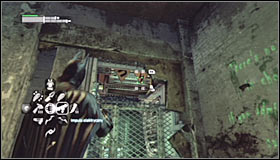
Now you will have to play with the water flow in the waterfall. Take out the Electrical Charge and aim at the left electromagnet above you #1. Shoot a charge to cause the big metal plate between the magnets to move right #2.
 | 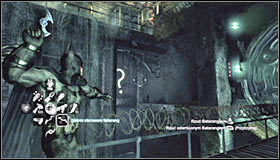 |
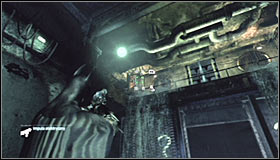
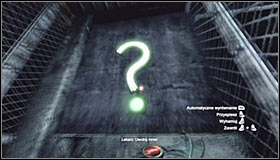
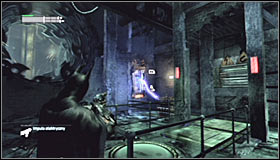
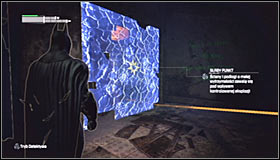
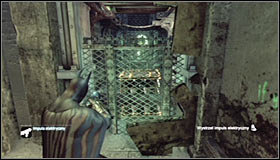
Note that therefore you have blocked the water flow in the right part of the waterfall, unveiling a question mark #1. Prepare the Batarang and throw it at the question mark #2.
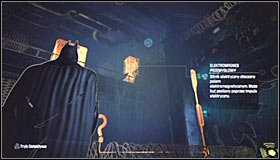 |  |
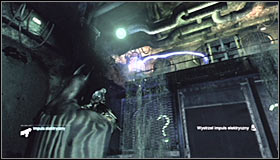
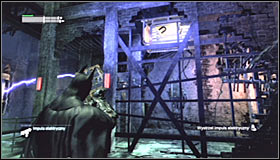
Once again equip the Electrical Charge and for a change shoot at the right electromagnet #1 to move the big metal plate left #2.
 |  |
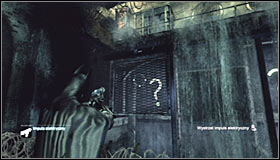
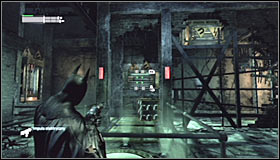
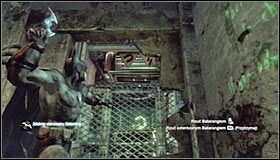
Hitting the left question mark #1 will be a bit harder, as it's behind a grate. That means you will have to use the Remote Controlled Batarang, steer it below the grate #2 and afterwards hit the question mark.
 |  |
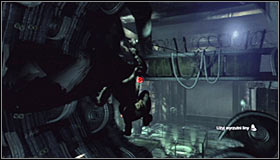
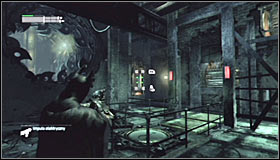
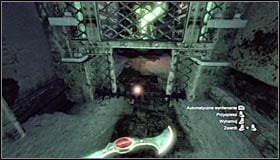
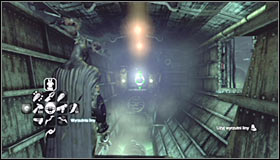
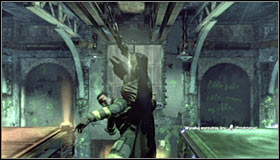
Turn right and approach the newly unblocked corridor with working machinery #1. Prepare the Line Launcher and shoot at the wall in front of you #2.
 |  |
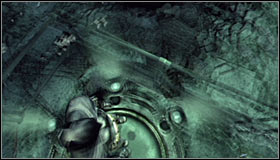
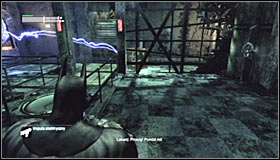
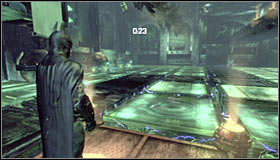
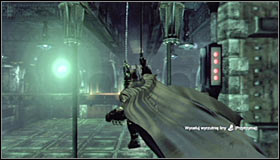
Right after shooting the line and starting the ride slow down (left trigger), as soon you will have to change direction. Wait until you reach an intersection and shoot at the wall at the end of the right corridor #1. Now Batman will reach a room with a new riddle #2.
 | 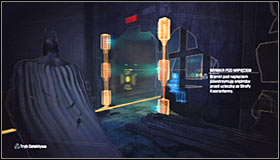 |
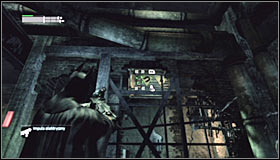
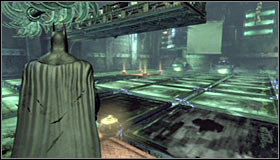
The goal in this puzzle is placing the steel platform on the interactive plate #1 and therefore turn off the barrier blocking access to the hostage #2. Unfortunately, it won't be particularly easy.
 |  |
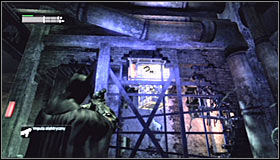
Prepare the Electrical Charge, as you will be using it to solve this puzzle. Start off by shooting at the left electromagnet #1 to move the steel platform left #2.
 |  |
Now aim at the upper magnet #1 and send a charge to move the platform towards it #2.
 |  |
The next step needs to be done fast, before the previously activated magnet ceases to work. Once again aim at the left magnet #1 and send a charge. By doing so you will attract the platform to the magnet #2 and therefore get it out of the blocked area.
 |  |
It however still isn't the end. Once again shoot at the left electromagnet #1, but this time with e negative charge, so that the steel platform moves to the right #2.
 |  |
In the end, aim at the so far unused middle magnet #1. Use the charge for the last time, so that the steel plate moves onto the interactive plate #2.
 |  |
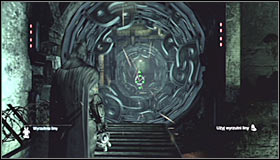
Now you can use the unlocked passage #1. Approach the hostage #2 and press A to save her. The woman will of course give you information needed for the next riddle.
12th riddle

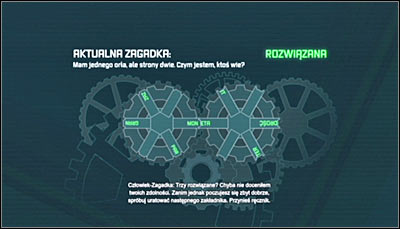
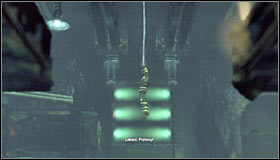
The 12th riddle won't surprise you with anything new. You have to once again use the Cryptographic Sequencer to find the proper radio frequency. This time the horizontal axis need to show 606 and the vertical 120. Of course don't forget to hold down A. The solution can be seen on the screen above and traditionally the Riddler won't let you move further until you complete enough of his challenges.
13th riddle

You will be able to approach the 13th riddle only after obtaining at least 240 Riddler's collectibles (collectibles + challenges). A new section will be unlocked in Batman's computer which you can access by pressing BACK. The riddle once again makes use of the Enigma Machine. Use both analog sticks to create the password SHADOW and accept with A. The solution can be seen on the screen above.
14th riddle
 |  |
Note that a new point has appeared on the Arkham City map #1. It shows the location of the fourth Riddler room, inside of which the next hostage is being held. Saving him is the 14th riddle. Head to the spot, found in the western part of the Industrial District, beside the subway tunnels entrance. After getting there, jump to the lowest level and look for a wall #2 with a green question mark.
 |  |
You should already know what to do here. As a reminder, approach the question mark #1 and press A to destroy the fragile wall fragment. Afterwards use the door leading inside the building #2, make a few steps forward and listen to the Riddler's comment.
 |  |
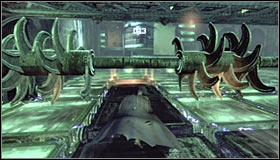
Move to the next room. Note where the hostage is being held #1 and the blades moving through the room #2, which you will have to dodge at all cost for the following couple minutes.
 |  |
Turn around, take out the Cryptographic Sequencer and use it on the control panel beside the door you came through just a moment ago #1. Solve the hacking mini-game by creating the password CONUNDRUM #2.
 |  |
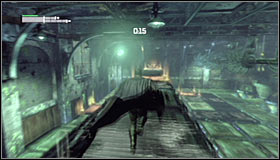
Completing the mini-game will activate a counter and unblock a passage to the next safe spot #1. Head towards it, but keep an eye on the mentioned blades. Luckily you won't have to dodge the main element of the machine, as Batman will automatically crouch down to avoid hitting it #2.
 | 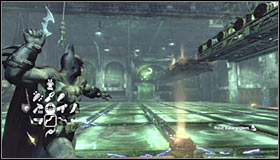 |
Your goal is reaching the orange platform #1 which will stay safe after the time limit expires. It's worth to mention that if you fail, you will have to go through the hacking mini-game all over again. In order to continue, turn to the right, take out the Batarang and throw it at the question mark in the distance #2.
 |  |
Hitting the question mark will unlock a new safe path and start a new counter #1, so don't waste time. Just like before, make sure to dodge the blades. You can make things easier and hit the question mark after passing through the blades, therefore reaching the other side of the room without any problems. Don't stop after reaching the question mark, as it's not the end. Start climbing up #2.
 | 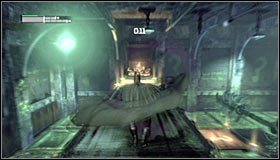 |
After reaching the top platform, turn right and head forward #1. You can't stop, as you're still in the hazardous zone and the clock is ticking. Don't forget about having to dodge the blades and be ready for making a small jump on your way #2.
 |  |
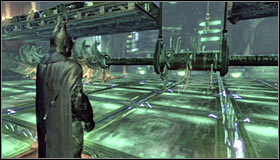
The next safe spot is the orange plate at the end of the upper platform #1. Turn right and take out the Line Launcher. Wait for the blades to start moving along the lower part of the room and shoot a line at the wall in the distance #2.
 |  |
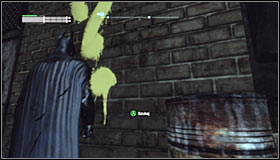
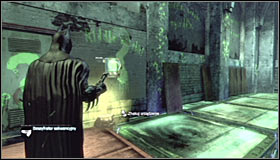
Reaching the next ledge #1 shouldn't be problematic. Equip the Explosive Gel and spray in on the left, destructible wall #2. Detonate the charge.
 |  |
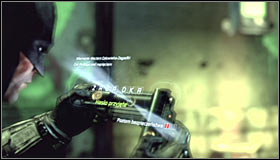
In the distance you should see a question mark, but a steel plate is blocking the path. Prepare the Electrical Charge and send a charge at the magnet above you #1. It should make the steel plate move #2.
 |  |
Stay where you are and equip the Remote Controlled Batarang. Aim at the hole above you #1 and throw it. You need to guide it into the hole you have opened #2 and afterwards hit the dot of the shining question mark.
 |  |
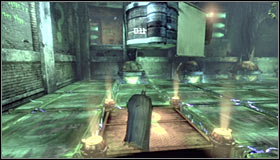
Hitting the question mark will cause the passage behind you to open #1. Use it and stop after reaching the interactive floor plate #2.
 |  |
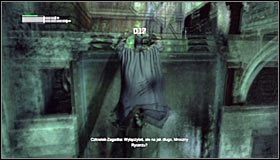
Take out the Line Launcher and shoot it into the wall in the distance #1. Once the ride begins, press the left trigger to slow down. It's crucial, as you will have to change direction almost immediately. Wait until you see hole on your right #2 and shoot a new line into it.
 |  |
As you have probably noticed, you are now moving towards the hostage #1. Batman will automatically grab #2 and take him to a safe spot. Hear out the hint needed for the next riddle.
15th riddle

The 15th riddle is a collection of well known activities. You have to once again use the Cryptographic Sequencer to find the proper radio frequency. This time the horizontal axis has to show 115 and the vertical 780. Of course don't forget about holding down A. The solution can be seen on the screen above traditionally Riddler won't let you move further before completing enough of his challenges.