
Enigma Conundrum (riddles 1-9) | Side missions Batman: AC Guide
Last update: 11 May 2016
Introduction
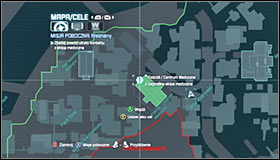 |  |
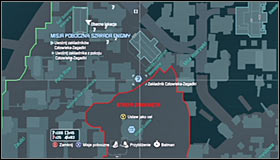
You will be able to start this mission after a marker point regarding a lost medical team will appear on the Arkham City map #1. Go to the Medical Center inside the Church, where you have already been while completing one of the main missions. After getting there, deal with a group of thugs beside the Church entrance #2. It shouldn't be too hard.
1st riddle
 |  |
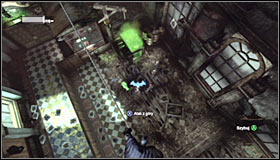
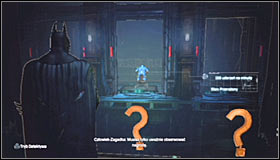
After securing the area of the Church entrance, get inside and head to the main room. Riddler will appear on the big screen #1 and Batman will talk with him. You will learn that in order to save the hostages kidnapped by this madman, you will have to solve a series of riddles that he has prepared. The 1st riddle will be easy, head forwards after hearing out the hint #2.
 |  |
Stand in front of the organs and hold down LB to scan them #1 and therefore complete this riddle. Hear out the conversation to learn that the next hostage is held in the Solomon Wayne Courthouse. Saving him is the 2nd riddle. Turn around and head towards the Church exit #2.
2nd riddle
 |  |
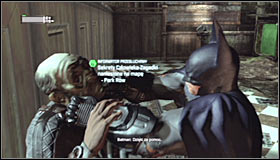
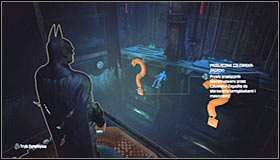
After getting inside - in accordance with Riddler's warning - you will be attacked by a group of thugs. Note the enemy marked with green #1. In order to gain information from him, you will first need to get rid of all his buddies, leaving him for the end. It of course forces you to change your fighting style and carefully choose targets. Make sure that the informant is the last man standing, approach him and press Y to begin the interrogation #2. Note that he has given you hints on locations of the nearby secrets. You can now do the same with the other "informants" found at other parts of town. It will make collecting secrets easier.
 |  |
Head to the well-known Solomon Wayne Courthouse. Just like during your last visit, you will be able to choose a passage. In case you don't want to fight with anyone, use the entrance at the back or on the balcony #1. Otherwise, get rid of the thugs beside the building #2 and go through the front door. Personally I'd recommend the latter option, as while you're at it you will be able to interrogate another informant.
 |  |
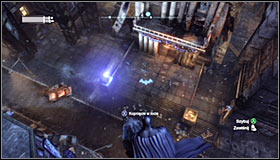
Regardless of the chosen passage, you will need to reach the middle room of the Courthouse, inside which you saved Catwoman. It would be good to attack the enemies here from above #1. During the fight, I'd once again recommend taking into account the presence of the informant #2 and leaving him for the end.
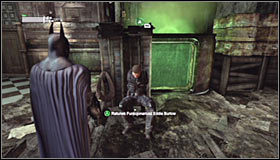 | 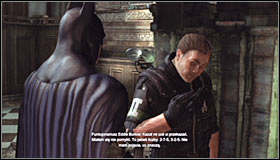 |
After the fight, approach Eddie Burlow #1 and free him. The man will give you another hint from Riddler, understanding it is the 3rd riddle. Batman will automatically determine that it's a radio frequency #2 and take out the Cryptographic Sequencer.
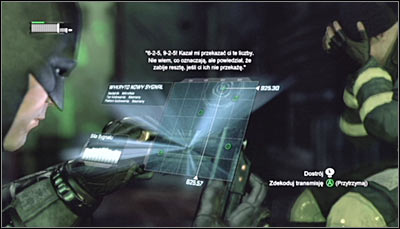
3rd riddle

The riddle itself is fairly easy, as you have to use both analog sticks to set the proper frequency. The X (horizontal) axis must show 275 (numbers beyond the decimal points don't matter) and the Y (vertical) axis 325. The proper position can be seen on the screen above. Hold down A to decode the transmission and listen to a new message from Riddler.
4th riddle

The next, 4th riddle, is related to the Enigma Machine that the officer you've saved just a moment ago has received from the Riddler. Press BACK to initiate a mini-game. It's very easy, you have to use both analog stick (and A to confirm) to create the word SECRET. The solution can be seen on the screen above.
5th riddle
 | 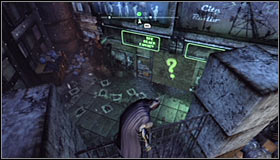 |
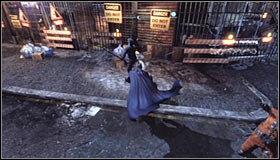
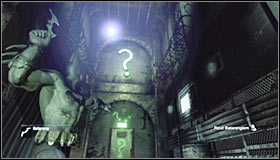
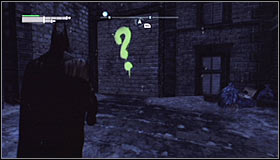
The next hostage is held inside a special room and saving him is the 5th riddle. Get out of the courthouse and head to the marked point #1 beside the Church. Afterwards find the wall with two The Black Canary neon signs and a big painted question mark #2.
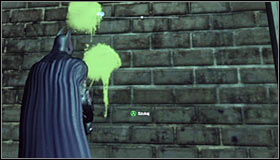 | 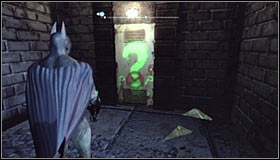 |
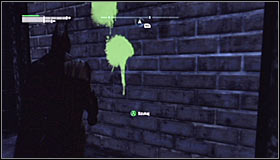
Approach the question mark #1 and press A to destroy the part of the nearby wall. Use the door leading inside the building #2 and listen to a new conversation with the Riddler.
 |  |
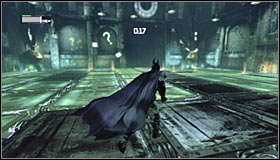
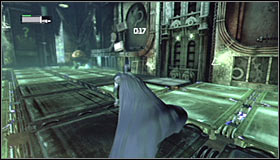
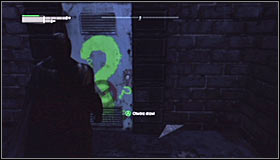
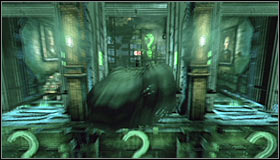
Make a few steps forward, turn around and use the Batarang to hit the question mark in front of you #1. Afterwards head to the next door. It leads to a special Riddler room. You will have to dodge the electricity here and reach the hostage held on the upper platform #2.
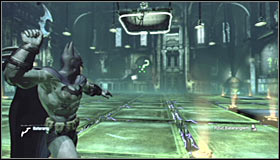 |  |
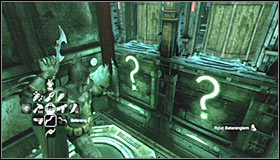
Start off by throwing a Batarang into the question mark in front of you #1. Note that it caused safe floor tiles to activate for 20 seconds #2. Stop after reaching a new question mark tile which will stay safe even after the safe time expires.
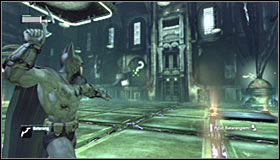
 |  |
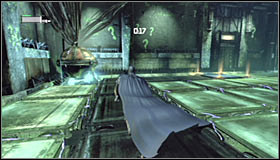
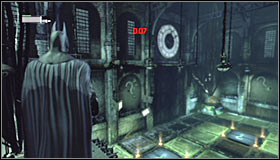
Turn right and throw a Batarang at the question mark closest to the entrance #1. It will cause new safe tiles to appear, along which you can of course run #2. Just like before, stop after reaching the new question mark tile.
 | 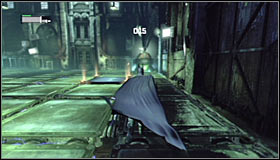 |
Now aim at the same mark as in the beginning #1. Traditionally, use the safe path #2.
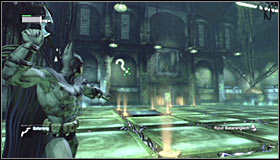 |  |
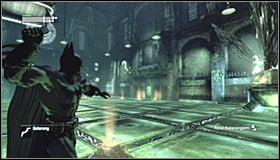
Now it's going to be a bit harder, as you need to throw Batarangs at two different question marks #1 #2, the two that you have already hit to be precise.
 |  |
Doing so will lead to two new paths to appear #1. Use them to reach the elevator #2.
 |  |
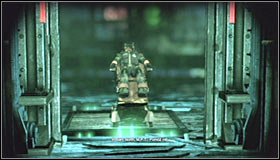
Turn a bit to the right and aim at the so far unused question mark #1. Use the Batarang and wait for the elevator to take you upstairs #2.
 | 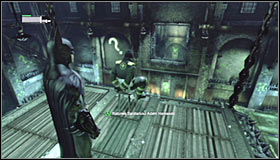 |
Turn towards the platform on which the hostage is, glide towards it #1 and free Adam Hamasaki #2. The game will automatically move you back to the previous corridor.
6th riddle
The 6th riddle is very similar to the 3rd one. Once again you will have to use the Cryptographic Sequencer to find the proper radio frequency. This time the horizontal axis has to be set on 625 and the vertical on 925. Of course don't forget about pressing A. The solution can be seen on the screen above, though keep in mind that the Riddler will give you further instruction only if you have completed enough of his challenges.
7th riddle

You will be able to approach the 7th riddle only after obtaining at least 80 Riddler's collectibles (collectibles + challenges). A new section will be unlocked in Batman's computer which you can access by pressing BACK. The riddle once again makes use of the Enigma Machine. Use both analog sticks to create the password DARKNESS and accept with A. The solution can be seen on the screen above.
8th riddle
 |  |
Note that a new point has appeared on the Arkham City map #1. It points the localization of the second Riddler room, in which the next hostage is held, saving whom is the 8th Riddle. Head to the marked post found in the Amusement Mile. After getting there, jump onto one of the lower levels (securing the local roofs isn't necessary) and look for a wall with a green question mark #2.
 |  |
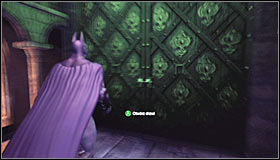
Just like with the 5th riddle, you have to approach the question mark #1 and press A to destroy the fragile wall fragment. Afterwards use the door leading inside the building #2 and listen out to what the Riddler has to say.
 |  |
Jump onto the lower ledge, turn left and stand on the interactive plate #1. From a short introduction, you will learn that in order to save the hostage #2 you will have to take part in a sort of a quiz.
 |  |
Luckily you don't have to keep a eye on the movements of the domes, as it's enough to use the Detective Mode #1 to see where the hostage is being taken. He should end up beneath the left dome #2.
 |  |
Turn off the Detective Mode, throw a Batarang into the question mark below the left dome #1 and jump towards the platform on which the domes were #2.
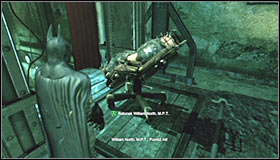 | 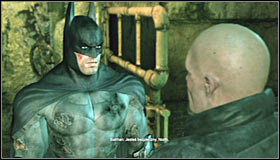 |
Approach William North and press A to save him #1. Batman will automatically take him to a safe spot #2 and receive information needed for further progression.
9th riddle

The assumptions of the 9th riddle should be well-known to you. You have to use the Cryptographic Sequencer to find the proper radio frequency. This time the horizontal axis should point 860 and the vertical 120. Of course don't forget to down A. The solution can be seen on the screen above and traditionally the Riddler won't allow you to continue unless you complete enough if his challenges.